Welcome back to the Sunrise Asphalt blog, where we give you all the info you need to know to take care of your asphalt surfaces! This time we are going to take a look at something that might seem the opposite of good care: how to cut asphalt! Believe it or not, there might be times when cutting into asphalt is a necessary step!
When and How to Cut Asphalt
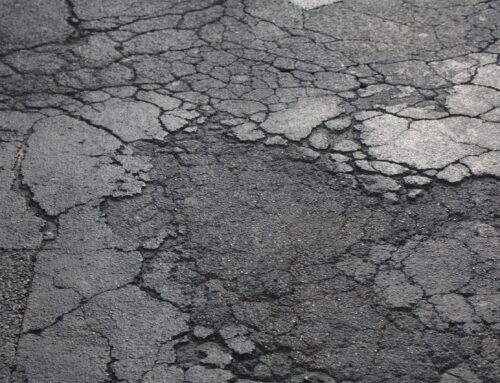
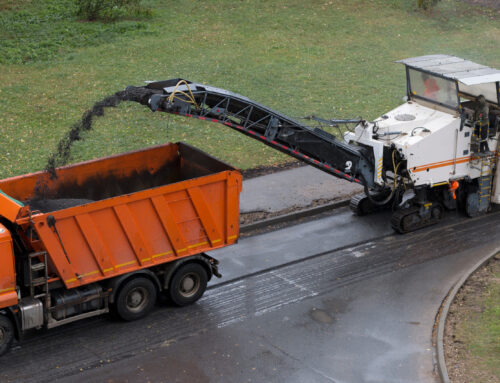
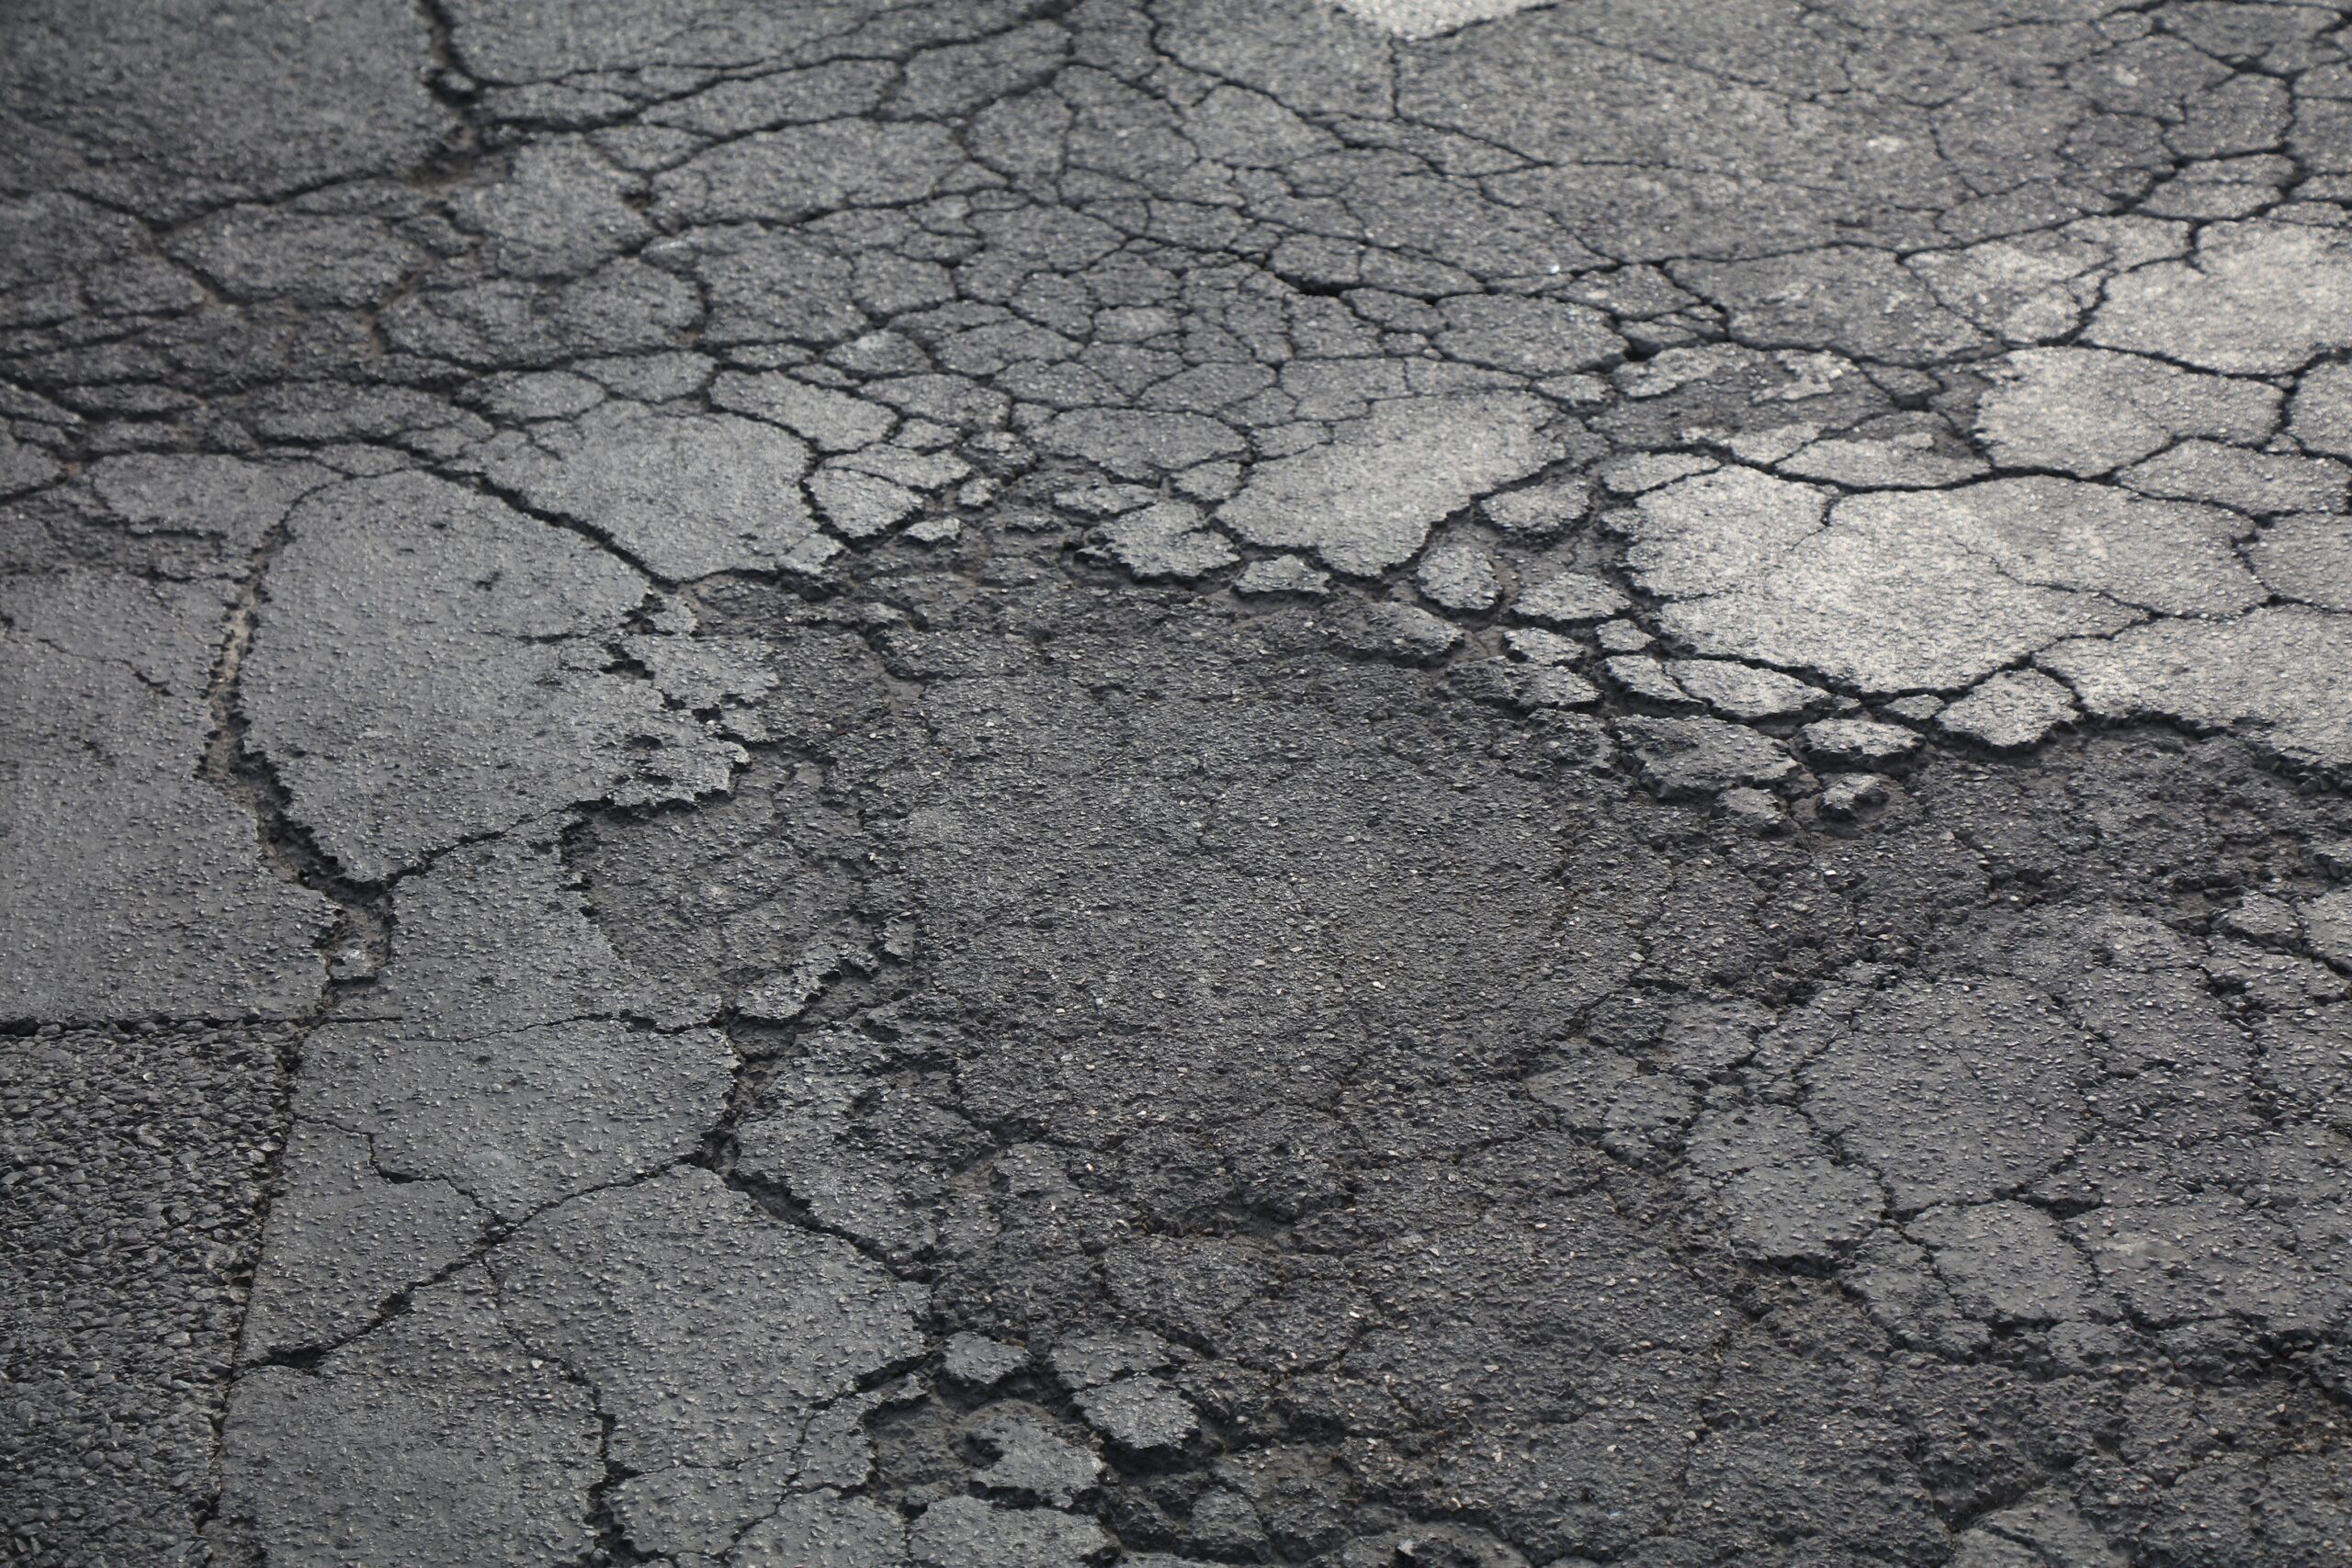
 There are a few reasons you might need to cut through asphalt. You might want to run some cable. If you’re asphalt is cracking and in need of repair, or you have a pothole that needs attention, a crucial step in the repair process is making for a clean surface to work with!
When repairing asphalt, having a straight, clean, section for the new asphalt material or patch to build on makes for a stronger surface overall. If you were to simply clean out a pothole and fill in it’s natural shape, you might save some material, but you’re setting yourself up for problems down the line.
Whatever the reason, to do this kind of work DIY, you don’t need too much. A saw with the proper blade can get the job done.
What Tools You Will Need
- Diamond blade
- Concrete or circular saw
- Chalk line
- Screwdriver or Chisel
- Broom
- Gloves and Goggles
First – Clean the Area
Hey, you gotta have a safe and clean work area! Make sure you clean the surrounding area where you will be cutting, removing rocks, debris, dirt and anything that is in the path of your cut. The last thing you want is for a high-speed saw blade to catch something and send it flying or causing problems.
Now, Plan and Prepare the Cut
Last thing you want is jagged cuts so snap that chalk line! If you are attempting to fill in a pothole, give yourself a few extra inches of work room. You really want to make sure you are getting rid of all the damaged, weakened asphalt so the cracks don’t begin again. Stick to right angles, making squares or rectangles as those clear edges will make it better for the new asphalt to bond, as we mentioned.
Get the line started by defining it with your chisel and a hammer, working a groove into the asphalt so your saw doesn’t skip at the first few passes.
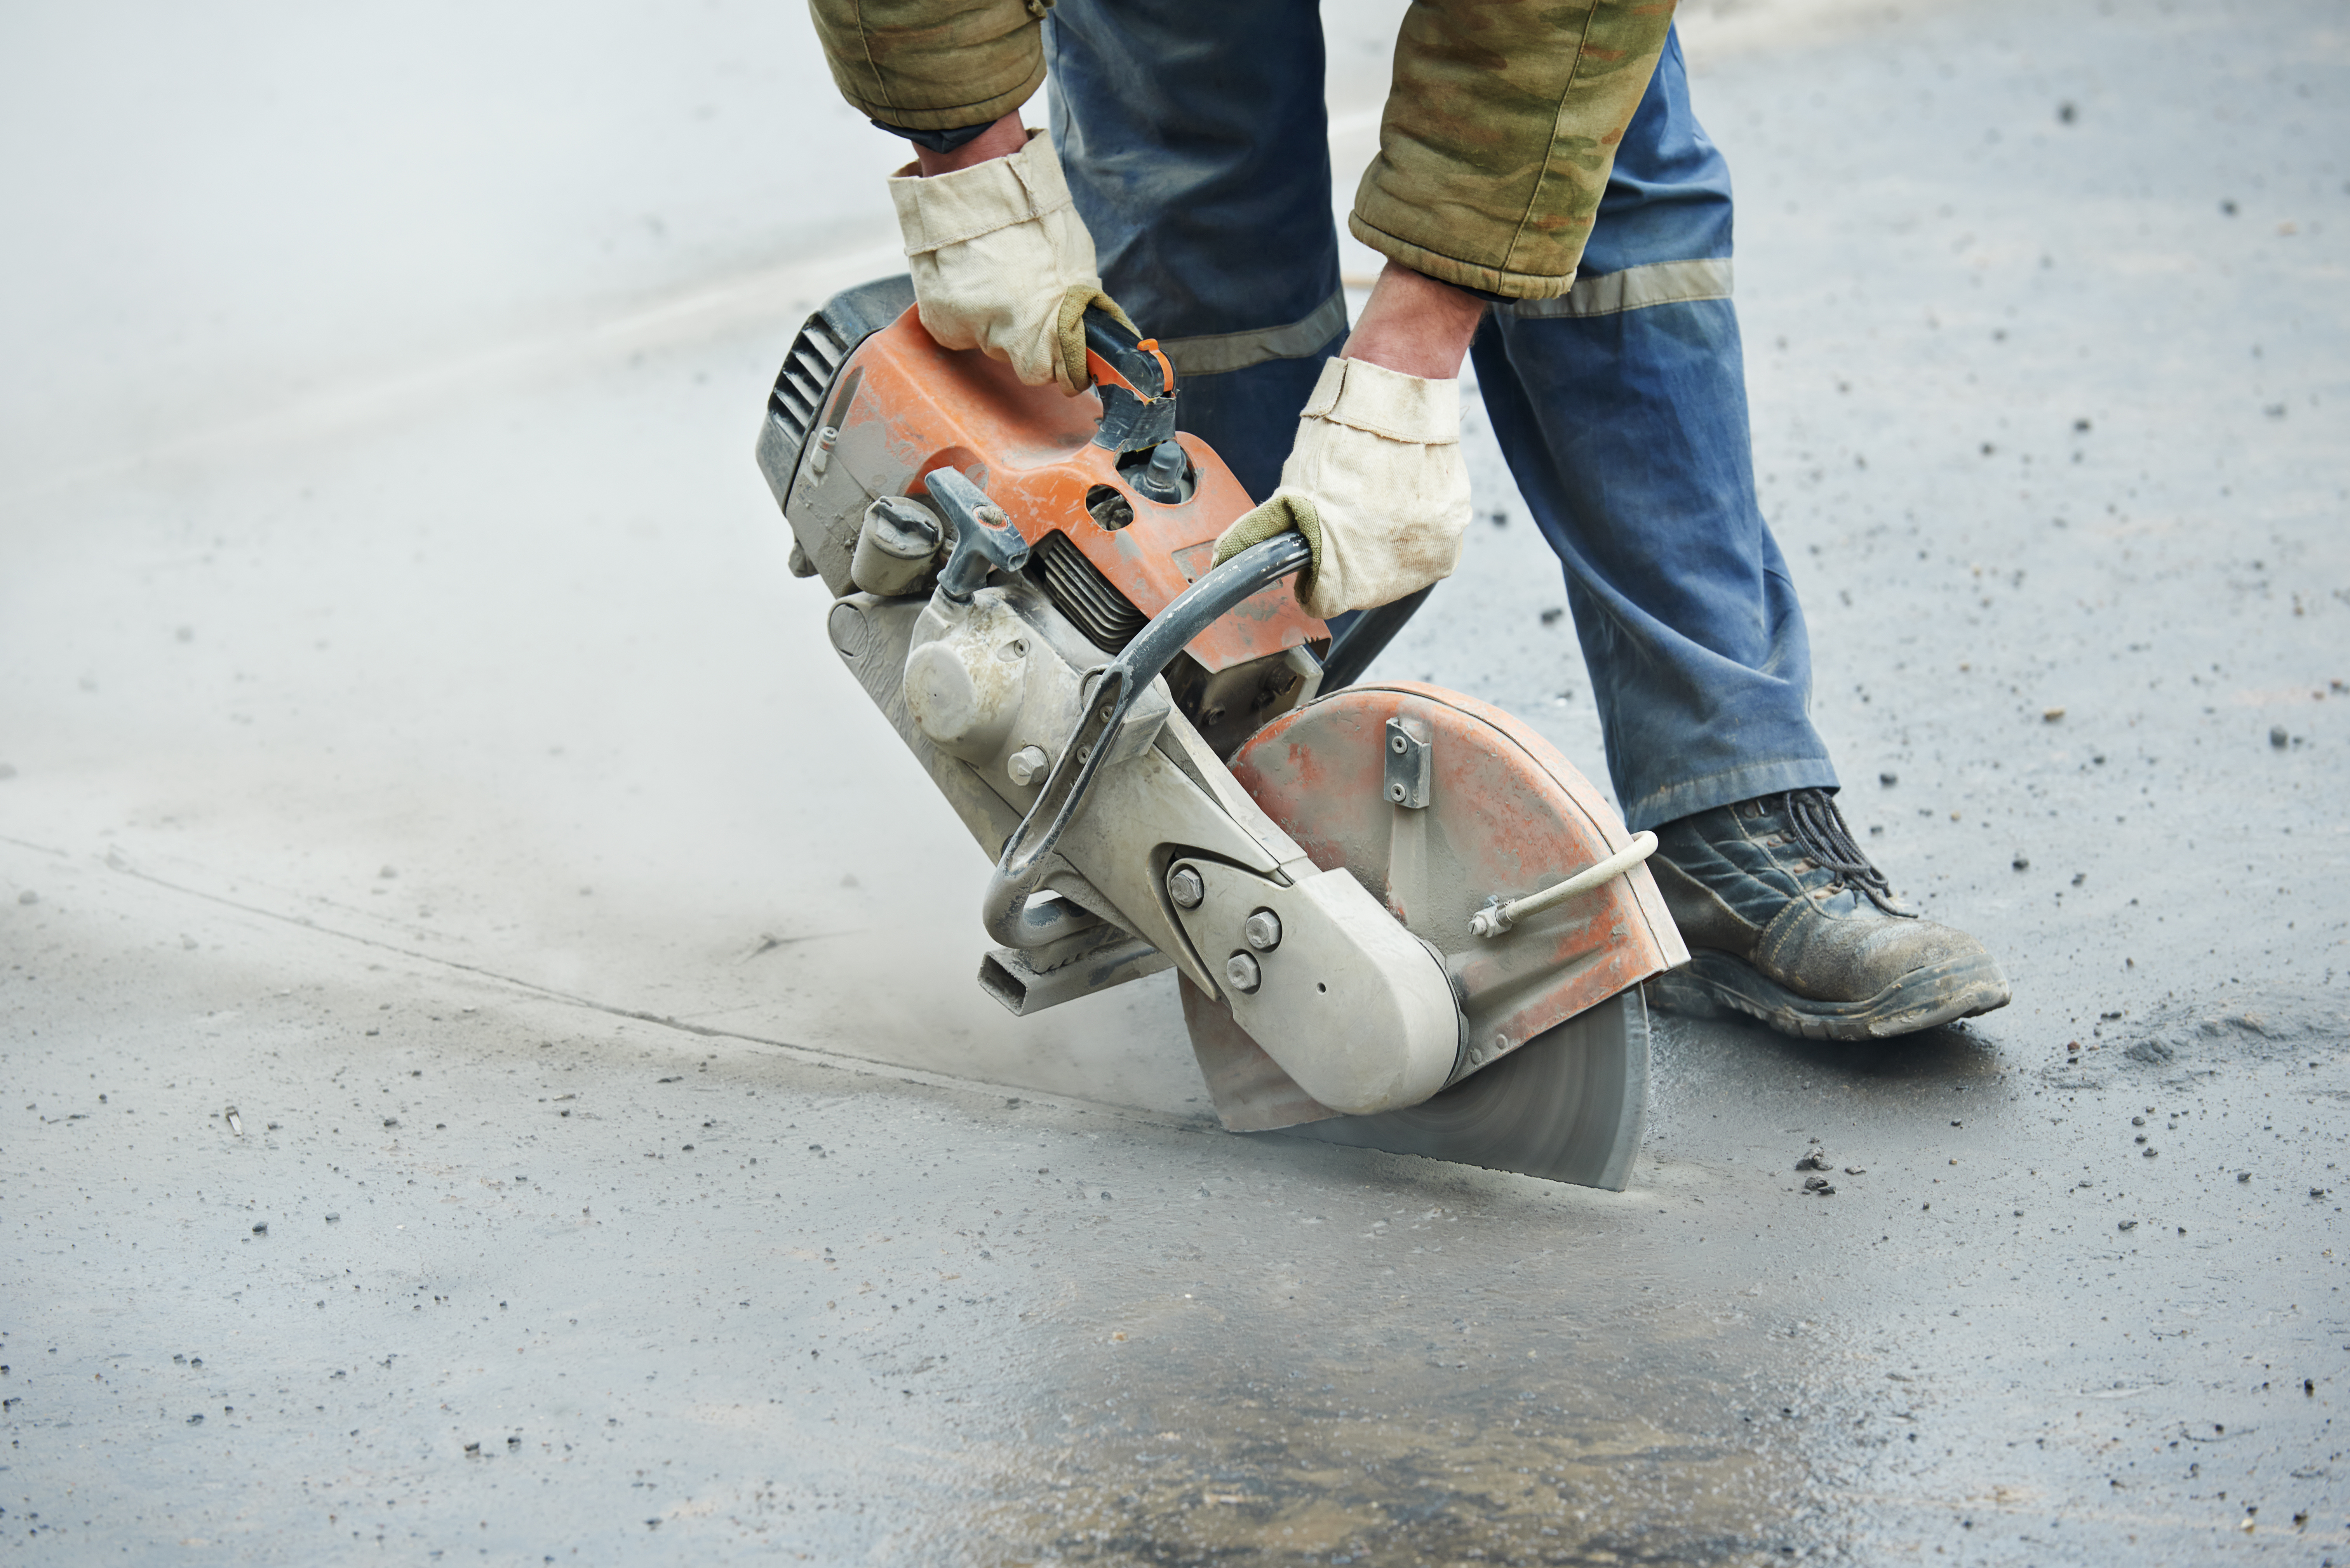
Now get your saw and put in the diamond blade. Give it the look over to make sure there are no damages and that operating the saw can be done safely. Put your gloves and goggles on and let’s get ready for work!
Get Cuttin’!
Set the blade depth to match the thickness of the asphalt, you don’t want the blade dipping below and hitting the stone, aggregate, or concrete below the asphalt – that’s a surefire way to have a bad time.
Once you have a good grip, are set for the right depth, squeeze that trigger and get goin’! Make sure you have the saw running at full RPM before you start cutting, letting it hit with the right amount of force straight away. As you hit the right depth, you can start gently guiding the saw along the chalk line and make your cuts.
Note: Sawing with a dry saw might cause overheating concerns, so be aware you may need to do the job in several cuts to prevent that.
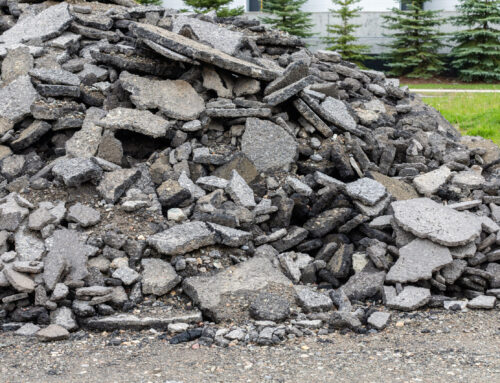
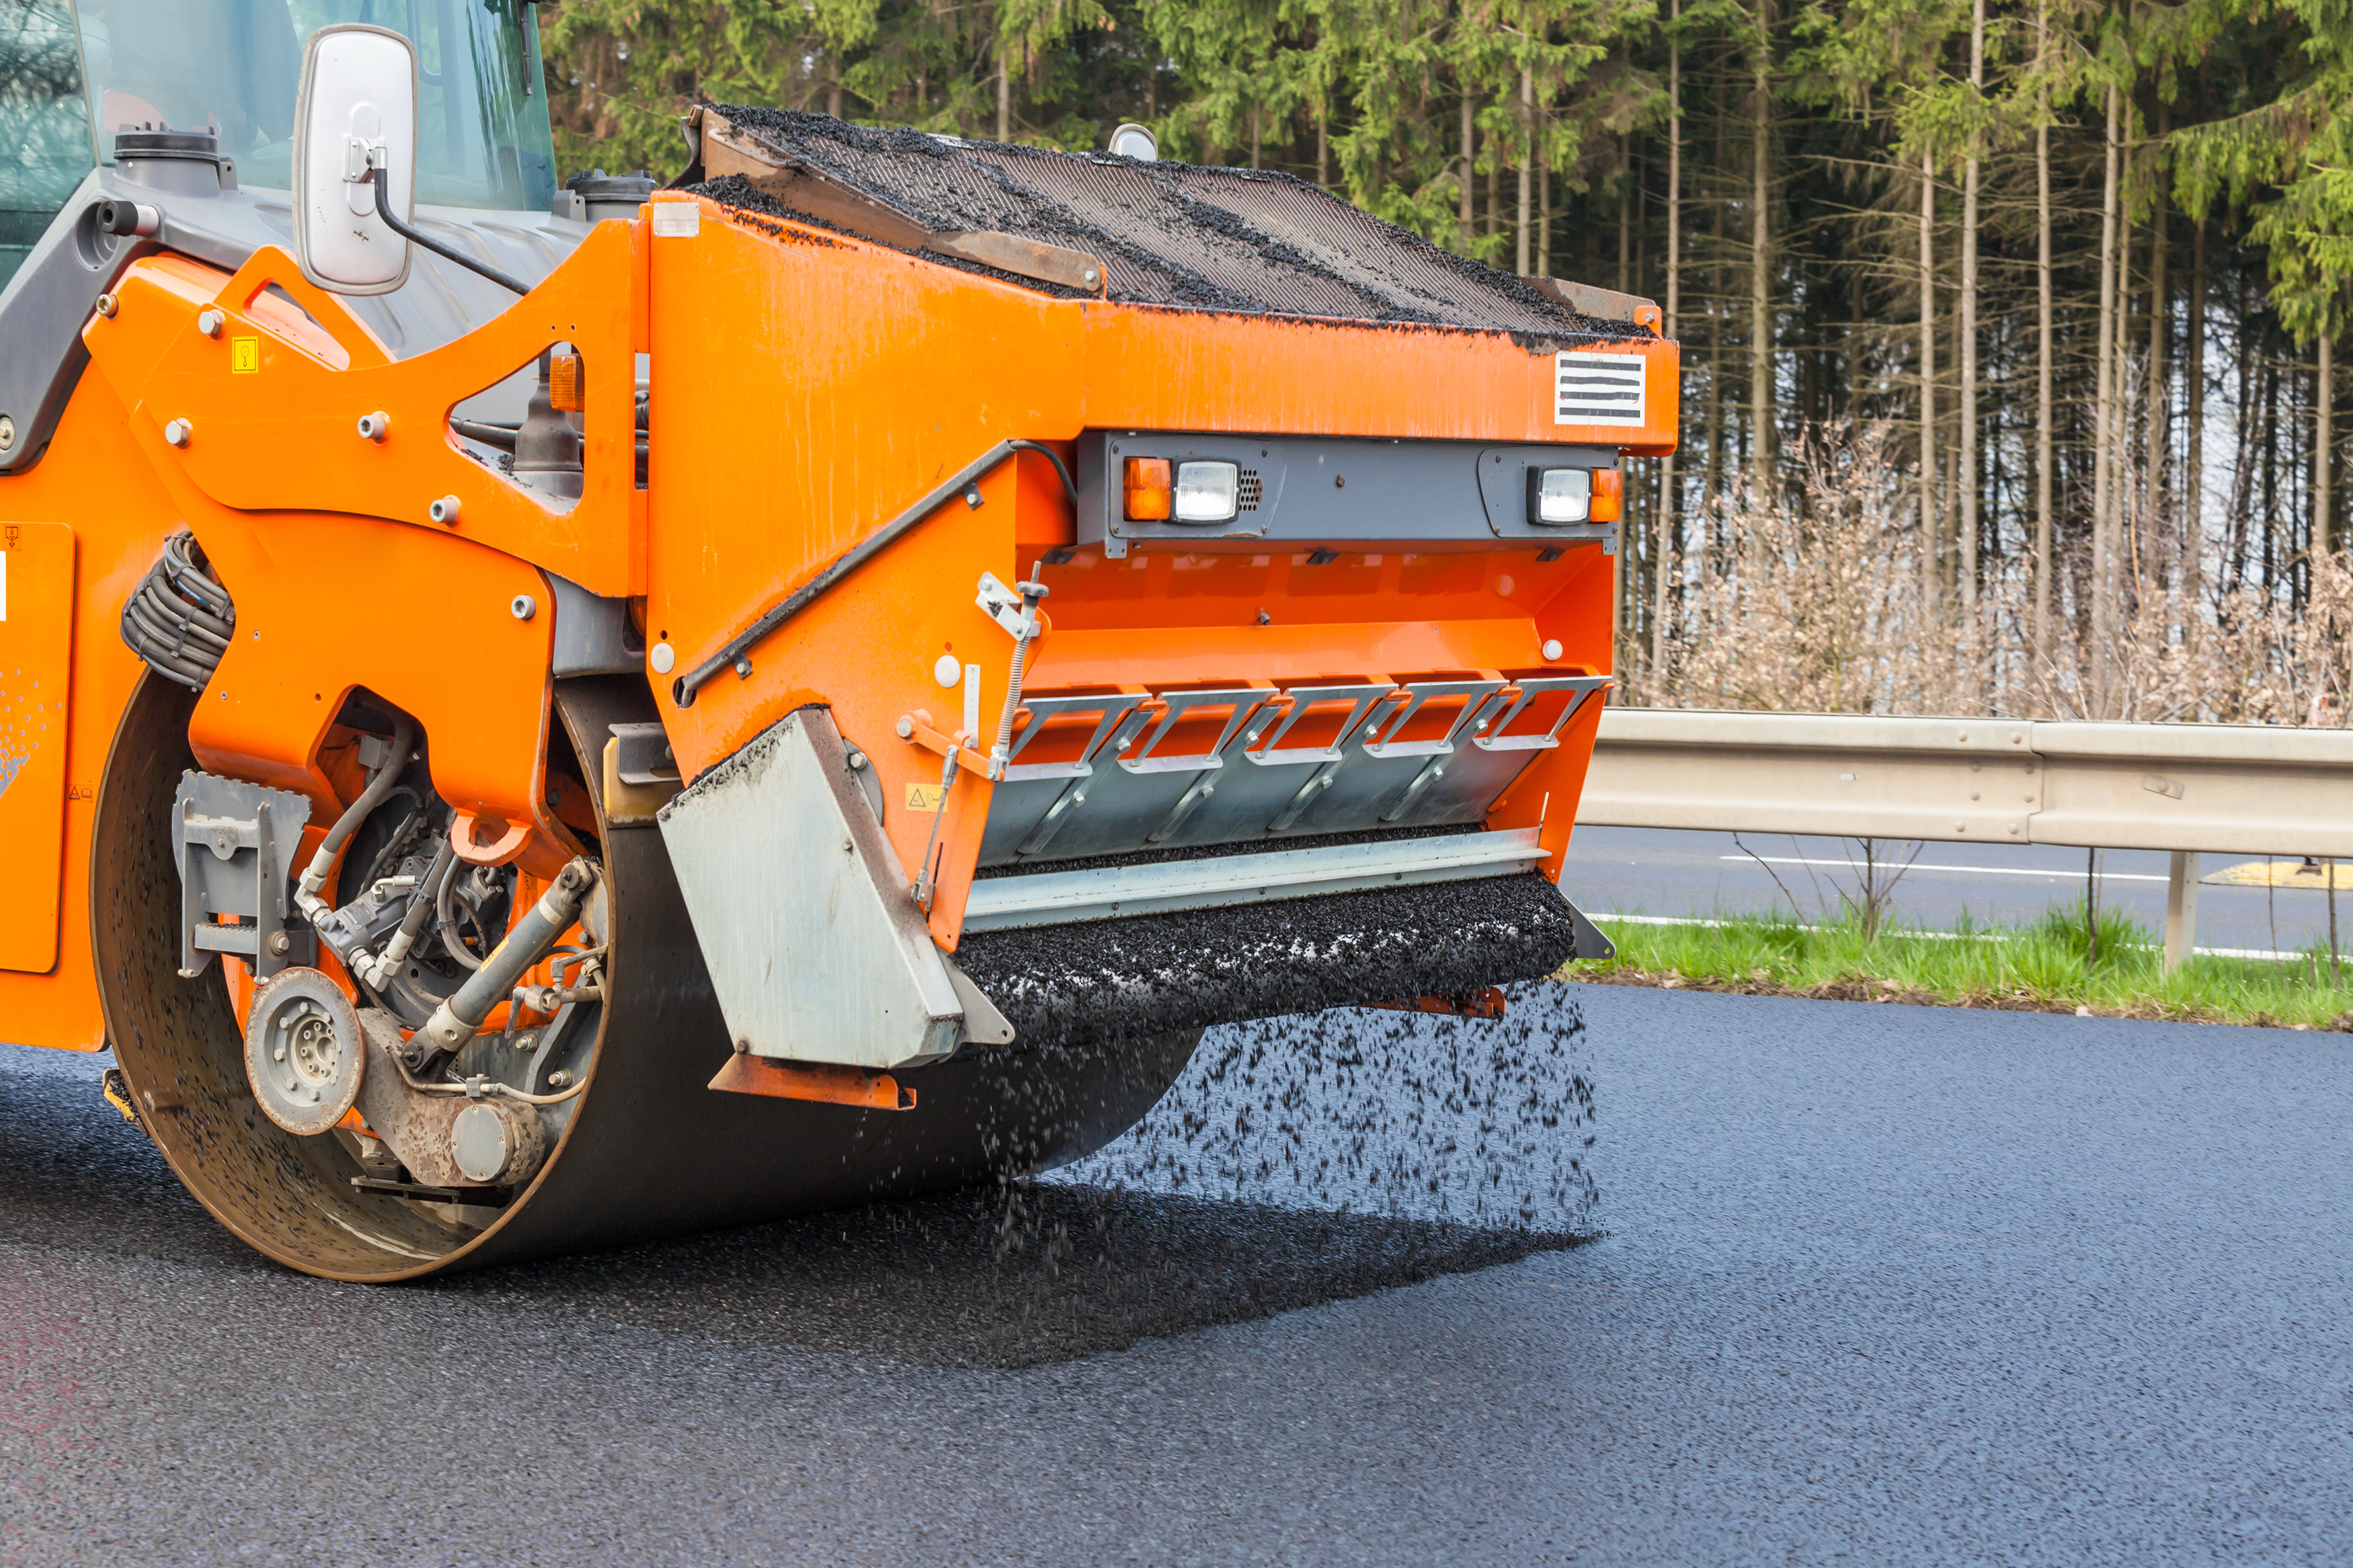
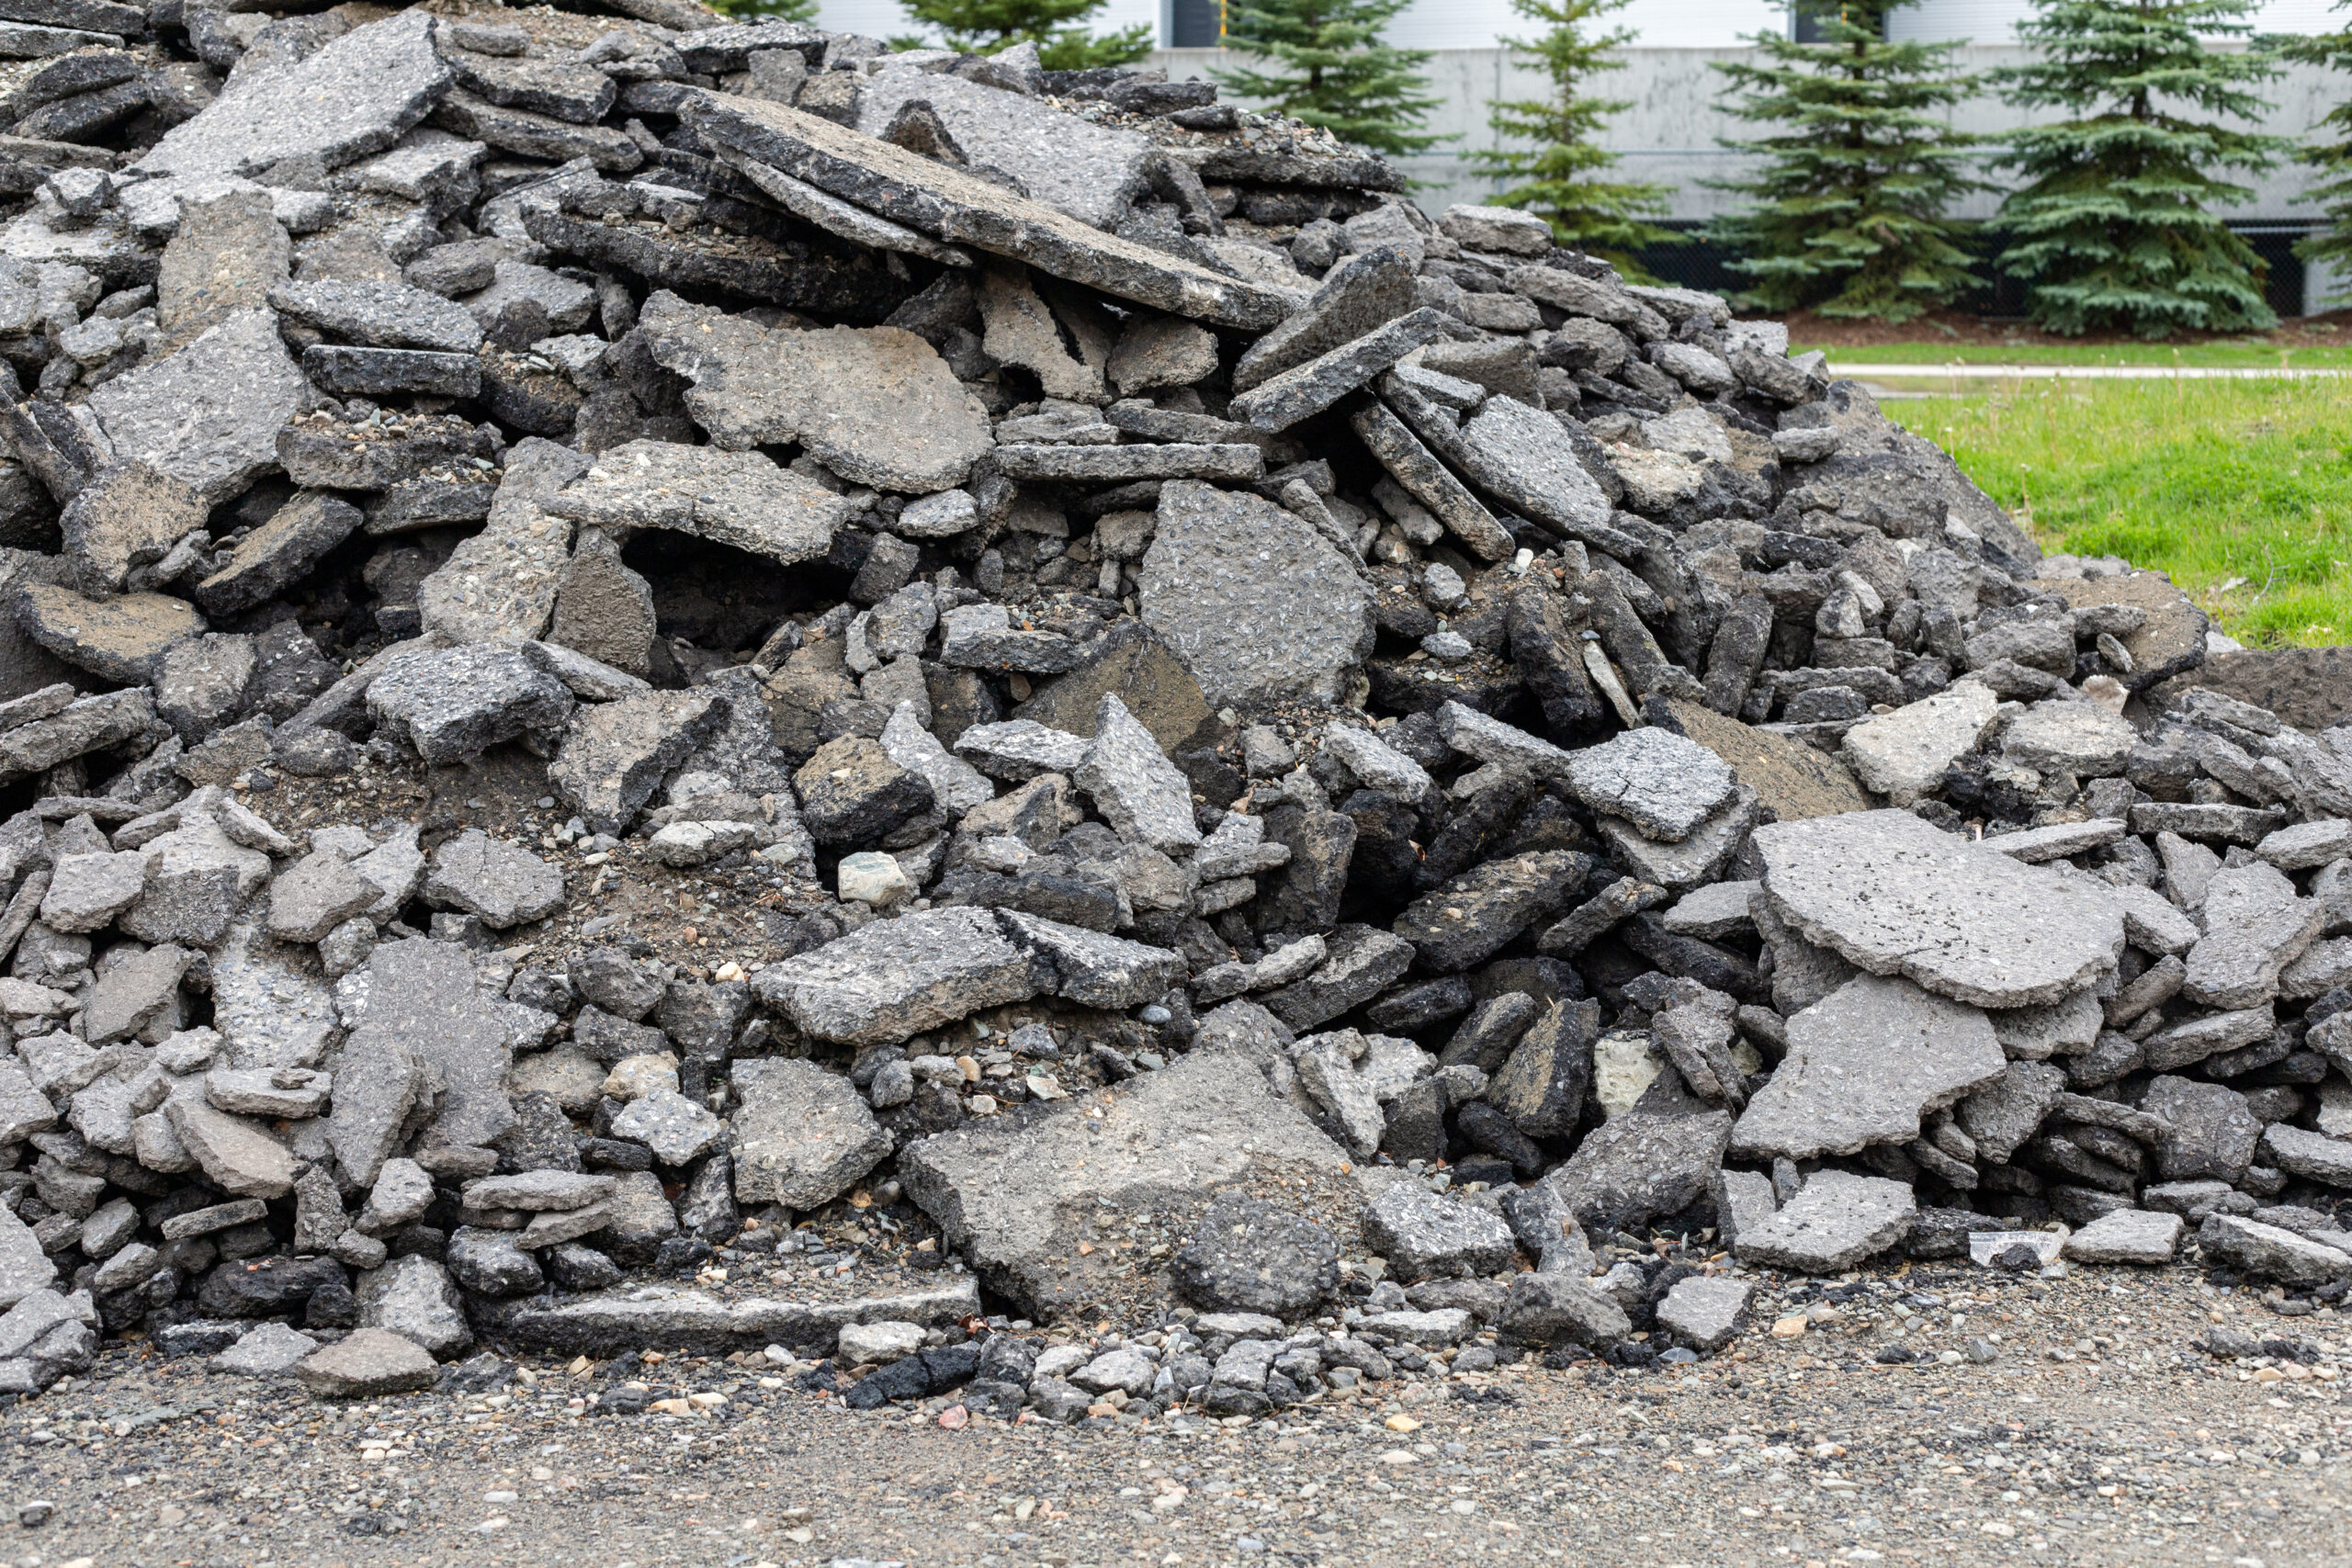
Once the cuts have been made, all you have left to do is remove the asphalt and voila! You have the space to patch or what have you.
Now, cutting asphalt will put a lot of stress on the saw’s motor, and yourself if you’re not too handy with a power tool. If you are at all hesitant about your ability to do so, don’t sweat it. There are companies (like Sunrise Asphalt!) who work in asphalt all day everyday and have the right tools for the job. You don’t have to DIY anything! You can simply give us a ring and our asphalt experts will come out to patch your potholes, repave driveways, and more.