Earlier this month we sat down and ran through a bunch of topics related to asphalt driveways, from paving, pathing, replacement and more! One of those that we briefly touched on was driveway sealer. This time on the blog we’re going to roll up our sleeves and get to work telling you how to apply a driveway sealer yourself!
DIY Applying Driveway Sealer
Before you set to work, you want to make sure the asphalt, and you, are prepared for it!
- Asphalt sealer will cure in a few hours, but the driveway can’t be used for traffic for 1-2 days. So be prepared for that.
- Make sure the temperature for the day of application is at least 60° for 24 hours before and after. The higher temperature is needed to make sure the sealer is applied and cures correctly.
- Similarly, if you’re expecting rain don’t apply the sealcoat.
- If your driveway has more than a 20° slope, sealer might not be the answer. At that slope the sealer will slowly flow off rather than cure in place.
- If you’ve recently made repairs, such as filling a crack, allow 6 months for the repairs to fully cure before applying sealer.
- Finally, if this is your first time applying a sealcoat, use a driveway sealer that is premixed to save you time, effort, and headache.
Applying the Driveway Sealer
Check the label of your sealer to understand how much driveway it should cover, and make sure you have enough on hand to do the job. You don’t want to run out in the middle of it!
First, Clean Your Driveway
Clear your driveway of any dirt or debris on the surface. If there’s anything left on top of it, the sealer won’t bind properly with the asphalt. Use a leaf blower, power washer, and a good brush to clear the asphalt of everything. If you have oil stains, take care of those before applying sealer.
Next, Do Some Yard Work
If you have any grass or plants, go along the edge of your driveway to trim it up. You want to make sure there’s some clearance from the driveway for easy application. When it comes to the edges of the driveway you can either use tape to tape off the surfaces nearby, or when it comes time to hit the edges use a more detailed squeegee or asphalt brush. Taping off the nearby bricks, pavers, or what have you is a good idea regardless.
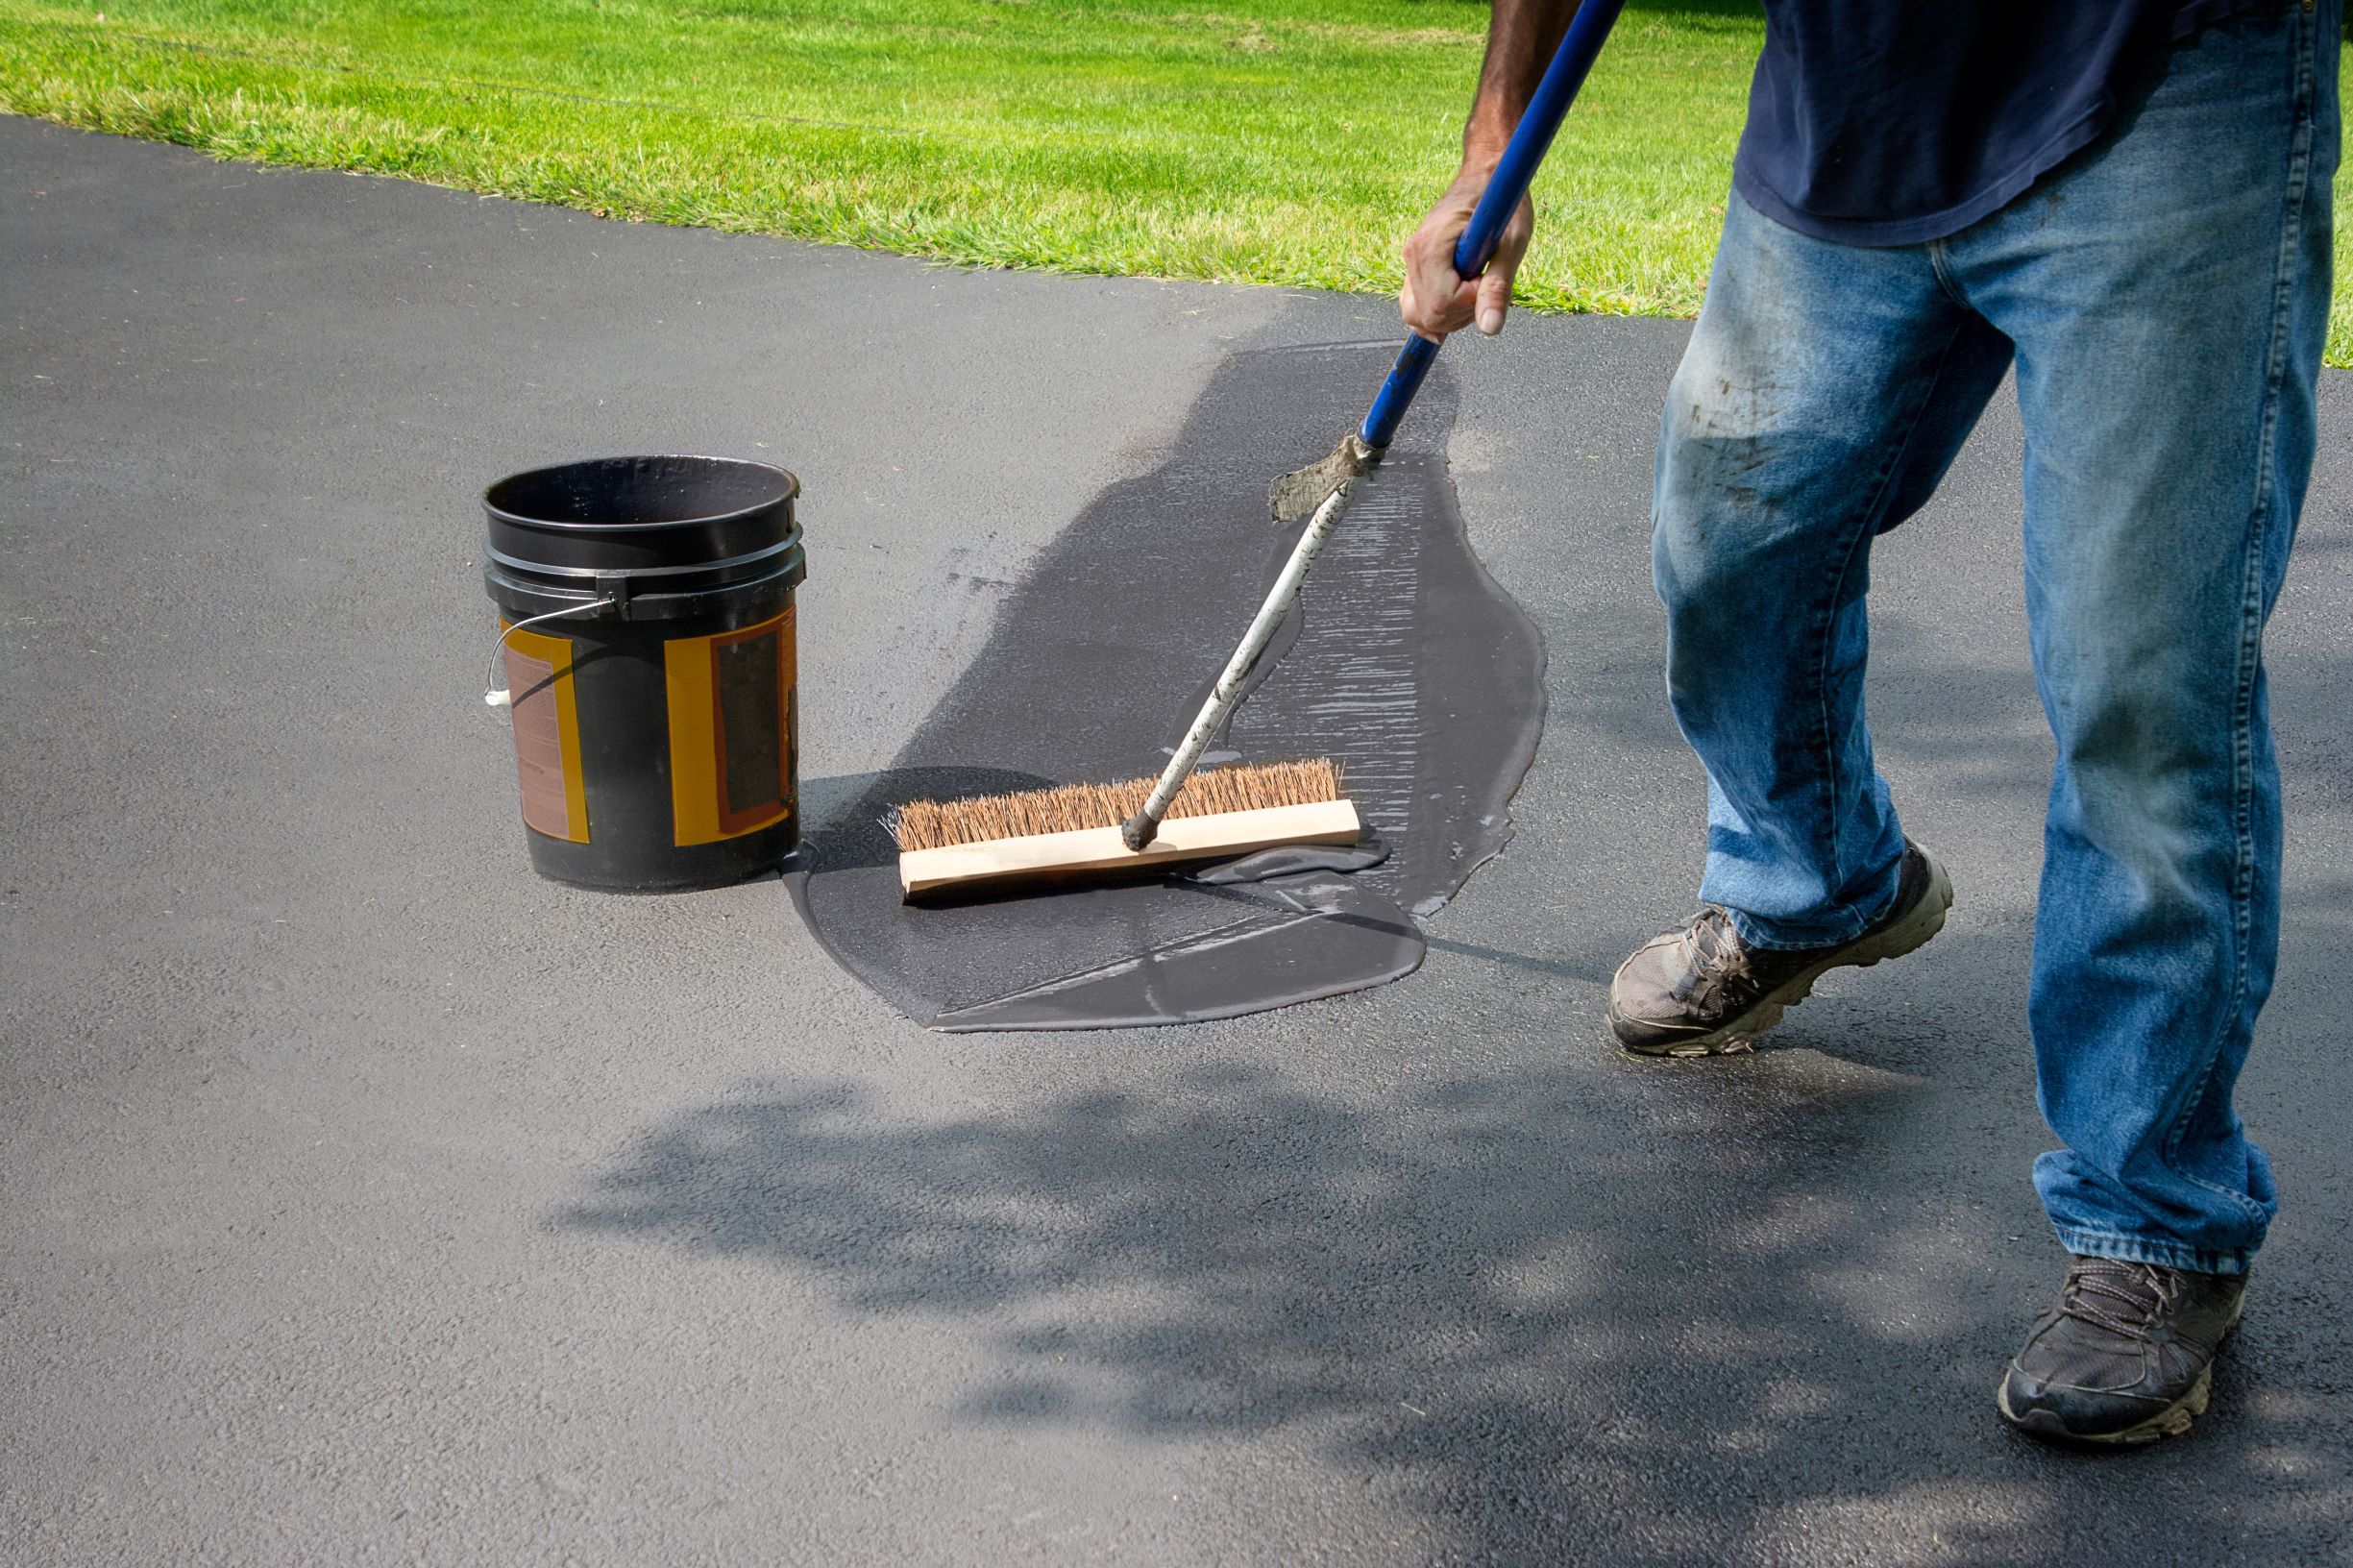
Time to Apply!
Now with all that sorted you can get to work applying the driveway sealer! Pour the sealer, going from one side of the pavement to the other, in about a 6 inch wide strip. Use a driveway squeegee or broom with a long handle to then spread the sealer into a thin layer. Do this in batches, applying one driveway width, stream of sealer at a time, working quickly to help this first layer blend correctly.
When you’ve completed your first layer, allow the driveway to dry fully and then repeat the process for a second coat. Working with more but thinner layers will provide better and more even coverage than using just one thick layer. Applying driveway sealer can be a time sensitive task, but if you work smart you’ll get it tackled in no time.
Have a large driveway you’re not interested in sealing yourself? A parking lot that needs sealcoating? Give Sunrise Asphalt a call today to see how we can help!